


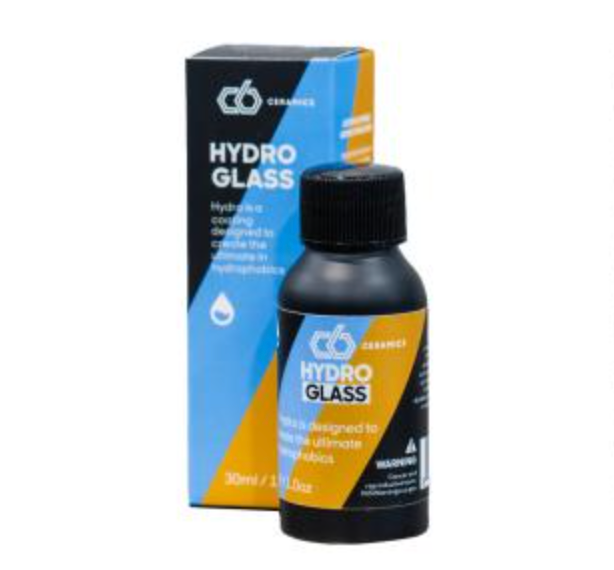
C6 Hydro Glass Application: A Detailed Guide for Installers & Detailers (With Video)
September 7, 2024
Affiliate Disclosure: This article contains affiliate links to products we believe in. If you make a purchase through these links, we may earn a commission at no extra cost to you. This helps support our work and allows us to continue providing valuable content.
Missing the official C6 Hydro Glass application instructions? You're not alone. Make sure to bookmark this guide for quick and easy reference next time you apply this coating.
This comprehensive guide, created by professional detailers, provides a step-by-step for optimal results, whether you're a certified installer, seasoned pro, or ambitious DIY detailer.
Why Proper C6 Hydro Glass Application Matters
C6 Hydro Glass isn't just another rain repellent; it's a durable ceramic coating that transforms water activity on windshields. Done properly, this means:
- Crystal-clear visibility: Especially crucial in rain and snow, enhancing safety.
- Reduced wiper use: Water beads and sheets off at speed, minimizing streaks.
- Easier cleaning: Bugs, grime, and even ice are less likely to stick to front glass.
- Long-lasting results: Proper application is KEY to maximizing the coating's lifespan.
Let's get started! We'll follow along with this helpful video from DIY Detail demonstrating the process:
Installation Instruction Video
Detailed Step-by-Step C6 Hydro Glass Application
1. Glass Polishing: The Foundation for Success
- What to Do: A regular car wash alone isn't enough. Use DIY Detail Gold Standard Polish paired with the DIY Gold Standard Pad to remove stubborn water spots, contaminants, and any previous coatings from the surface of the glass.
- Pro Tip: Work in small sections, applying moderate pressure, and wipe off residue frequently to check your progress.
- Why It's Crucial: Even microscopic contamination can affect how the coating bonds, reducing durability and clarity.
2. Polish Residue Removal: Don't Skip This Step!
- What to Do: Use a premium microfiber towel dampened with a DIY Rinse Less Wash (diluted 2 oz per 1 gallon of water) solution to remove ALL polish residue. Follow with a dry microfiber towel for a perfectly clean slate.
- Pay Attention To: Edges, corners, and the molding around the windshield are notorious for trapping residue.
- Why It Matters: Any leftover polish will act as a barrier, preventing the C6 Hydro Glass from forming a strong bond with the glass.
3. Panel Prep: Priming for Optimal Adhesion
- What to Do: DIY Detail Panel Prep is your best friend here. Spray liberally onto a clean microfiber towel and wipe the entire windshield. IMMEDIATELY buff off any excess with a dry section of the towel before it evaporates.
- The Feel Test: The windshield should feel slightly "grabby" or tacky to the touch. This indicates the surface is prepped for coating.
- Why It's Essential: Panel prep removes any lingering oils or residues, creating the ideal surface for the C6 Hydro Glass to adhere to.
4. C6 Hydro Glass Application: Less is More
- What to Do: Wearing gloves, apply 5-6 drops of C6 Hydro Glass to the included applicator. Using light pressure and overlapping passes, spread the coating in a circular motion, ensuring even coverage. Add more drops to the applicator as needed.
- Sectioning for Success: For larger windshields, divide the glass into sections (top/bottom or left/right) to maintain a wet edge and prevent high spots.
- Common Mistake: Applying too much coating will make it difficult to buff off and can result in streaking.
5. Flash Time: Let the Magic Happen
- What to Do: Resist the urge to touch! Allow the coating to sit undisturbed for 10-15 minutes. You'll notice a white haze forming as it flashes off.
- Time-Saving Tip: While waiting, rinse the applicator thoroughly with clean water and let it air dry for future use. This will prevent the coating from hardening on the applicator.
- Why It's Important: This flash time allows the solvents in the coating to evaporate, ensuring a proper cure and maximizing durability.
6. Buffing: The Final Reveal
- What to Do: Once the haze appears, use a clean, dry microfiber towel to gently buff off the coating in straight, overlapping lines.
- The Swipe Test: If the coating feels greasy or smears, it's not ready. Wait a few more minutes and try again.
- Pro Tip: For a streak-free finish, flip your towel frequently to a clean side.
- The Result: A crystal-clear, glass-like finish that repels water like magic!
7. Curing Time: Patience is Key
- What to Do: Wait at least one hour before exposing the windshield to water (rain, washing, etc.).
- Full Cure Time: While the coating is initially hydrophobic, allow 24-48 hours for full curing to ensure maximum durability and performance.
Summary of Steps (Simple Instructions)
- Wash and decontaminate the surface.
- Polish with DIY Detail Gold Standard Polish.
- Clean surface with DIY Detail Panel Prep.
- Apply a few drops of C6 Ceramics Hydro Glass to the included applicator. Avoid using too much product.
- Apply in a circular motion, ensuring full coverage.
- Allow to cure for 10-15 mins, or until you observe a white haze.
- Once cured, wipe off the haze with a plush microfiber towel.
- Do not come in contact with water for a minimum of 1 hour.
Why Choose a Professional for C6 Hydro Glass?
This guide empowers DIYers, but professional application offers:
- Experience & Expertise: We've tackled countless windshields, ensuring flawless results even on challenging surfaces.
- Proper Prep: Our multi-step process guarantees optimal coating adhesion for long-lasting protection.
- Time Savings: Leave the detailed work to us, freeing up your time for other tasks.
Ready to experience the C6 Hydro Glass difference? Contact us today for a quote or to schedule your professional application!
Disclaimer: Westchester Auto Detail is a proud authorized installer of C6 Hydro Glass. While we strive for accuracy, this guide is for informational purposes and should not replace official C6 product instructions. For the most up-to-date information, always refer to the manufacturer's guidelines.