Expert car care tips, professional advice and automotive detailing resources.
CAR DETAILING BLOG
by Westchester Auto Detail
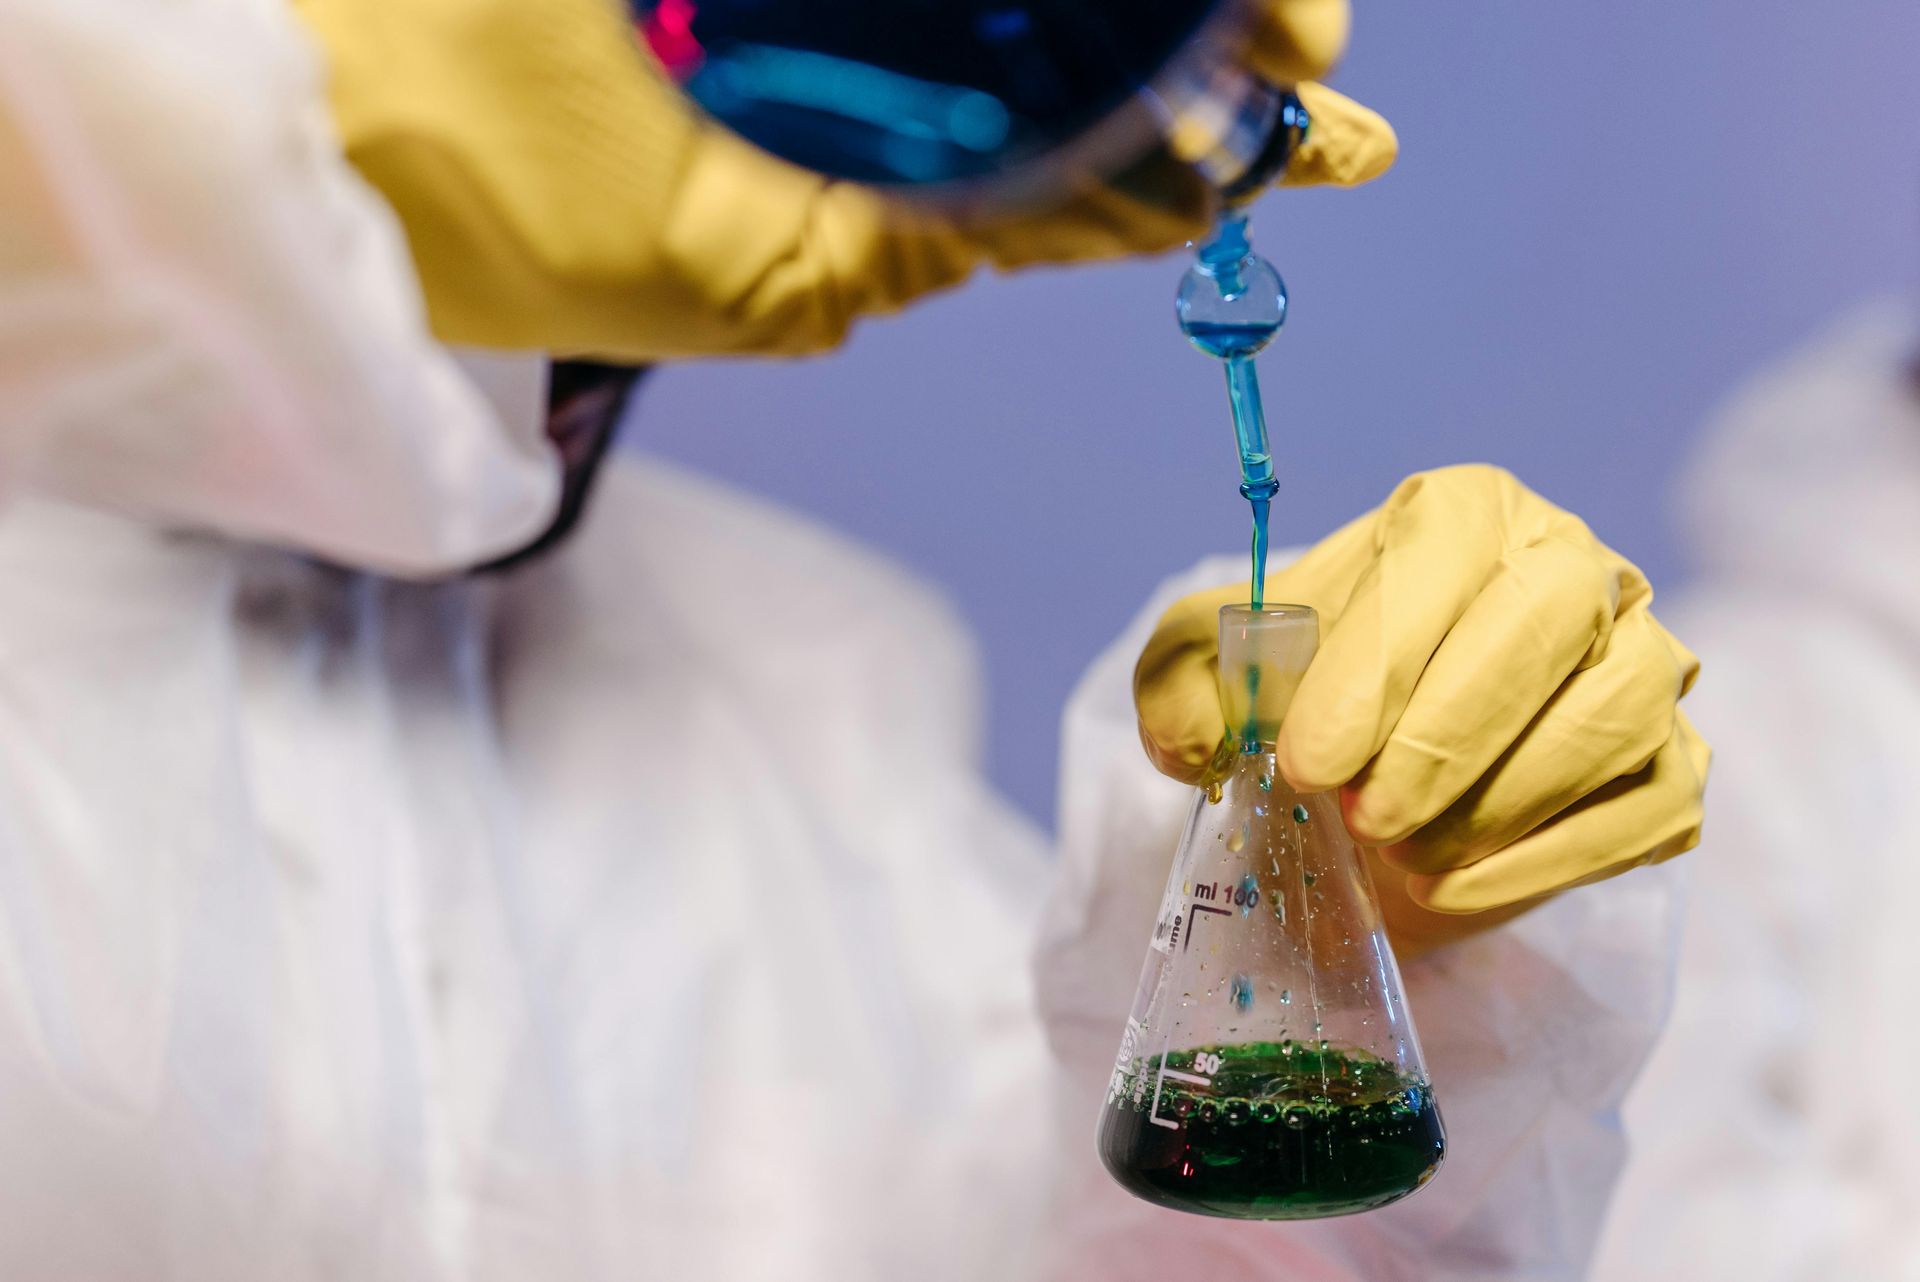
Acidic cleaners represent a critical category of professional detailing products, operating below pH 7 on the chemical scale. These specialized solutions play an essential role in modern detailing but require proper understanding and handling protocols. This guide provides comprehensive information for professional detailers and serious enthusiasts about the effective and safe use of acidic cleaning products. Understanding the Chemistry Professional-grade acidic cleaners function through specific chemical reactions that target inorganic contaminants. These products are particularly effective at: Dissolving mineral deposits Breaking down iron contamination Removing brake dust Treating oxidation Eliminating water spots Common Uses for Acid in Professional Detailing Wheel Cleaners Acid based wheel cleaners are a popular choice in car detailing because of their powerful ability to clean wheels and brakes. Acidic wheel cleaners are specifically formulated to tackle brake pad deposits, rust, and other stubborn contaminants found on rims and hubcaps. They commonly contain strong acids with a pH around 1 . Caution is advised when using acid on wheels. Improper use can result in severe damage to wheel finishes, particularly on polished, chrome, or aluminum surfaces. It’s important to keep an eye on dwell time of the chemical and to ensure that it is not being dried on the surface or kept in direct sunlight. These chemicals can damage paint and glass if not used properly. Fall Out Removers Fall out removers with a neutral pH are normally recommended for ongoing paint and wheel maintenance. While they are less aggressive than acidic cleaners, they offer similar benefits when decontaminating wheels and paint with less risks of degradation of surfaces or misuse. Gentle acidic products like Crystal Wash by P&S can be used for removing inorganic contaminants like metal filings and rust, while also addressing limescale and water spots on windows and paint surfaces. Benefits of Using Acidic Chemicals When Detailing Acids are effective in removing mineral deposits, like water spotting, rust and other inorganic residues. Most water spot removal chemicals are a form of a gentle acid capable of breaking down calcium and salt deposits that occur during the winter. When using a water spot remover, we always recommend following the instructions on the chemical. Wash the panel off after use of the chemical to ensure there are no residues left over. A variety of shampoos designed for unclogging ceramic coatings sit at a pH slightly below 7. Using acids in turn requires less agitation for a deeper clean of wheels or a ceramic coating, preserving the surface, avoiding scratches or premature aging of the materials. Potential Risks of Using Acids on Cars While acidic chemicals offer numerous benefits for car detailing, using these chemicals requires caution. Acidic cleaners can harm vehicle finishes, especially if they come into contact with paint or anodized aluminum surfaces. Some acidic products contain hazardous substances that can pose serious health risks, such as skin irritation or respiratory issues, necessitating the use of protective equipment during application. Protective gear, such as gloves and goggles, should always be worn to safeguard against splashes, and it is advisable to conduct a spot test on inconspicuous areas to ensure compatibility with the surface being cleaned.
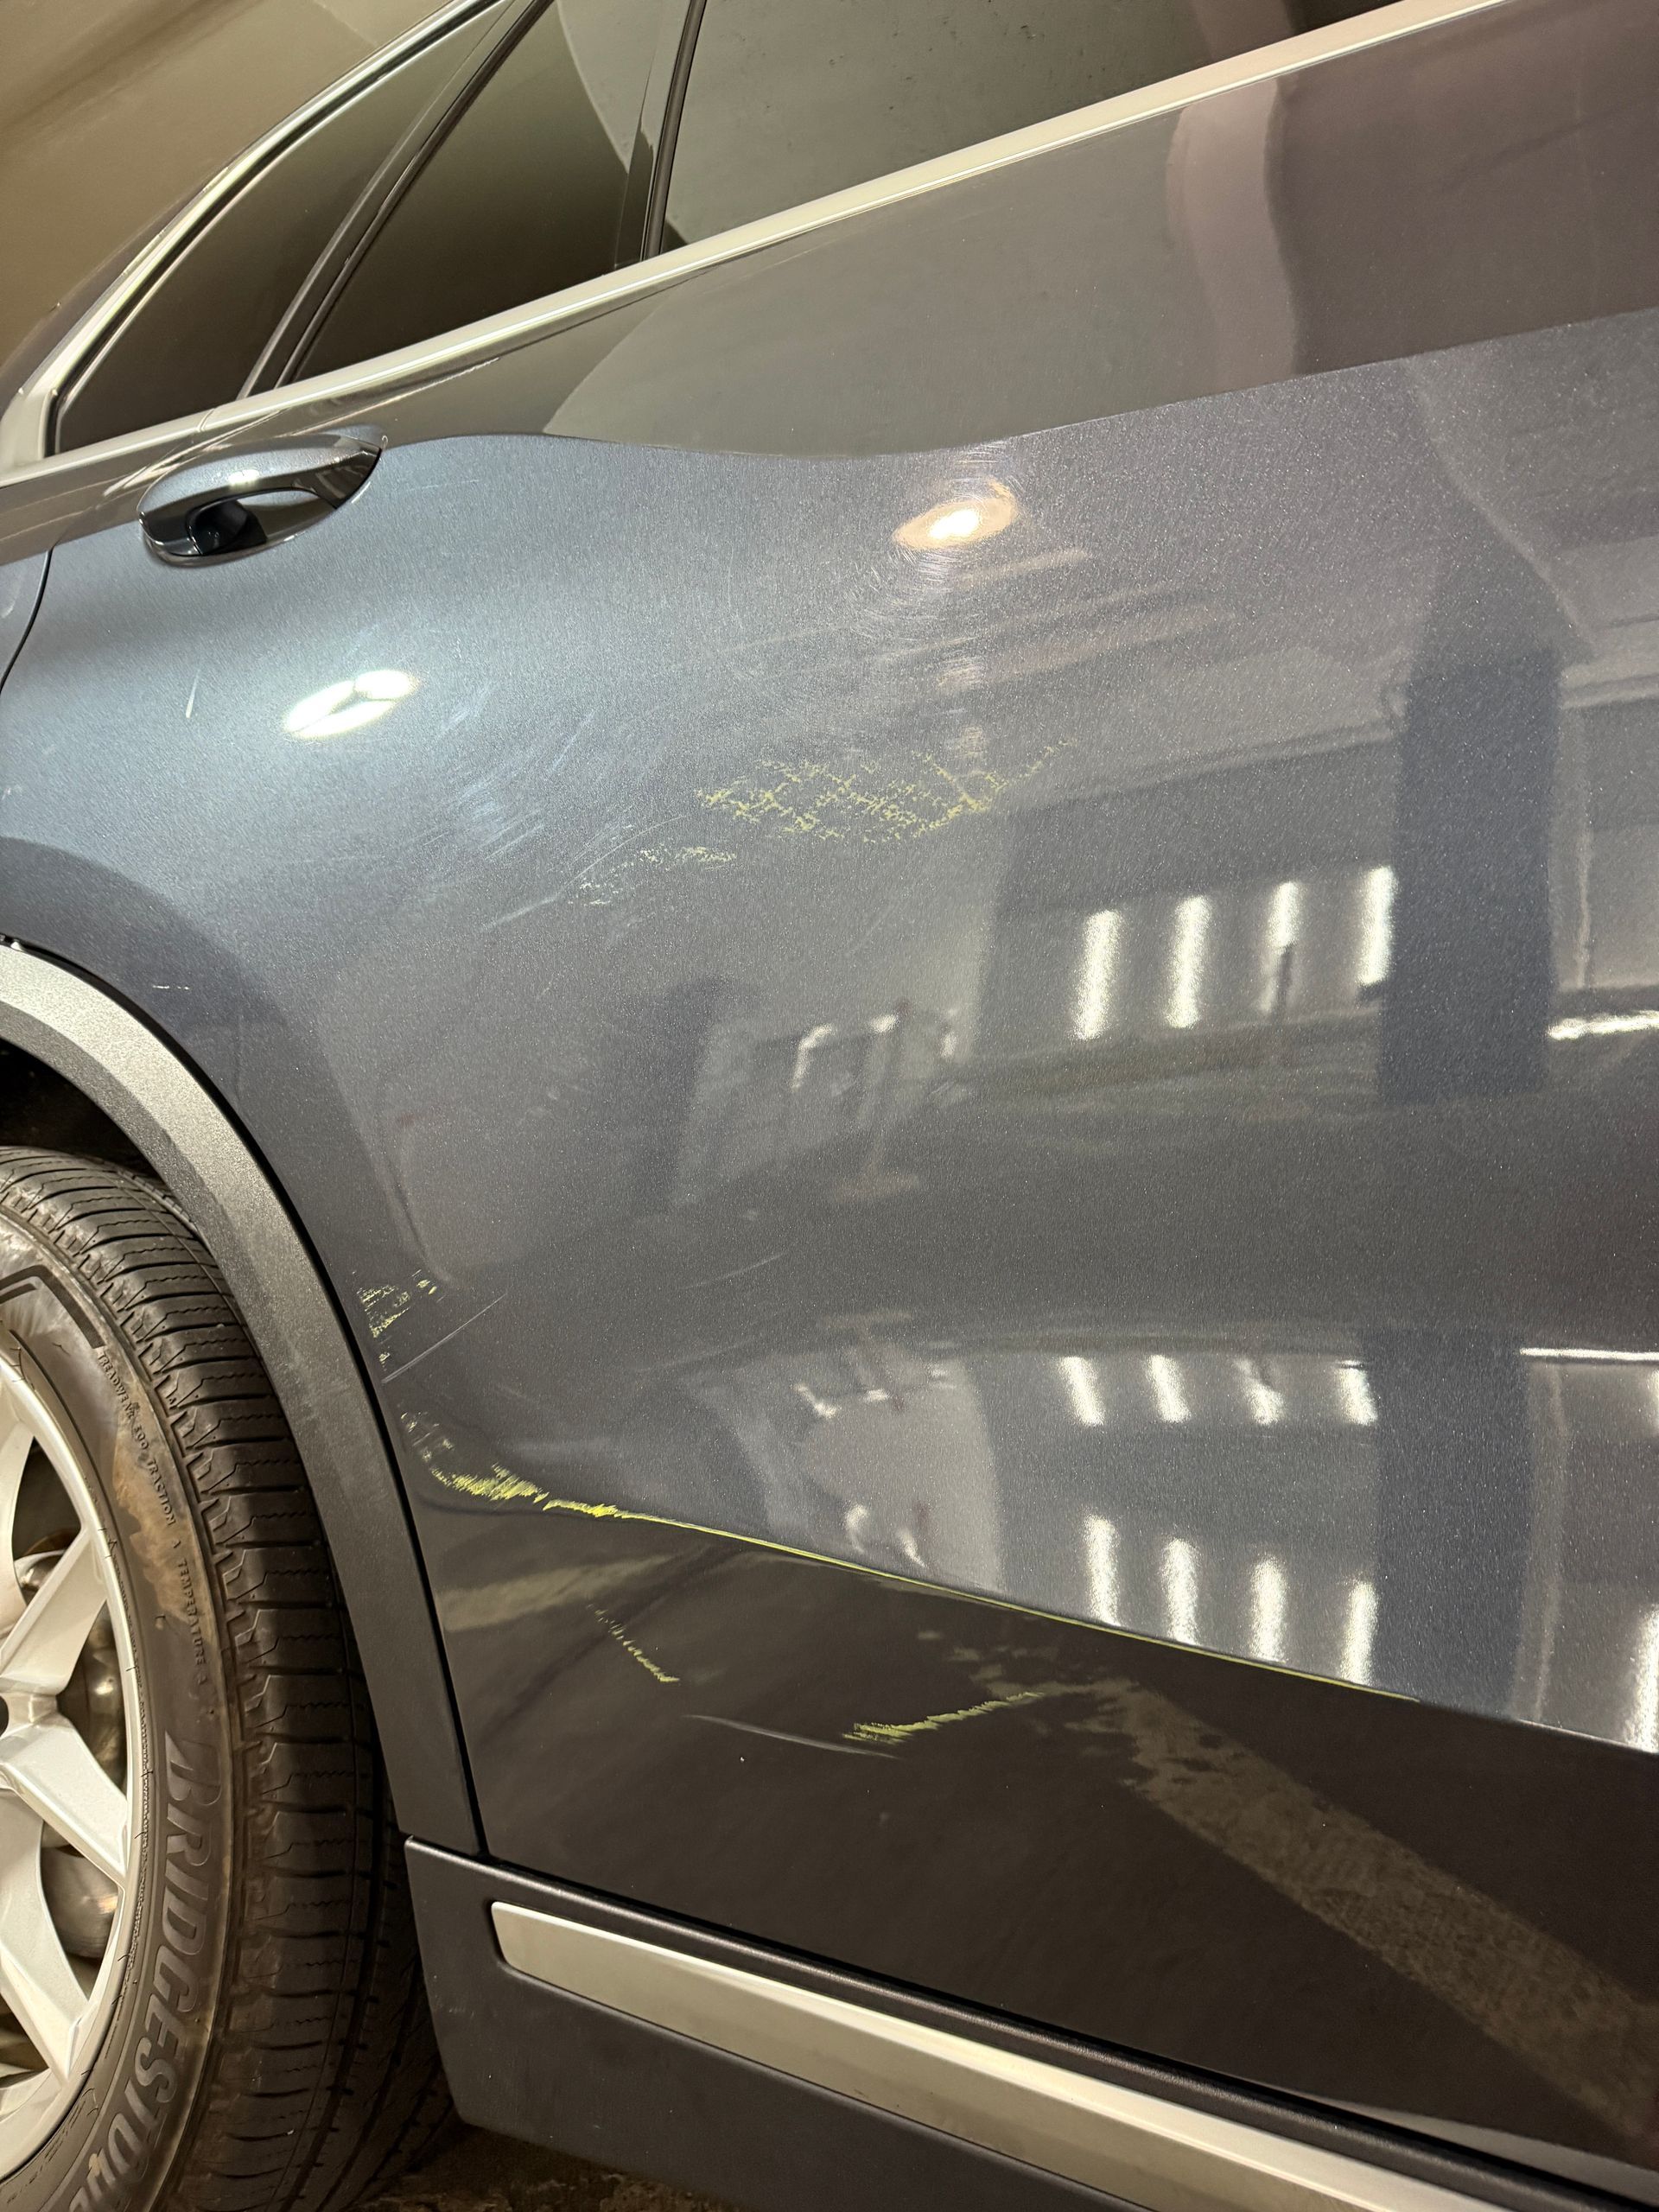
Parking garages can be challenging environments for your vehicle, with tight spaces, low ceilings, and the risk of accidental damage. Whether it's a minor scratch or a more significant dent, knowing how to assess and address the damage is crucial. This article will guide you through identifying common types of damage, understanding when professional help is needed, and learning how to prevent future incidents. Common Types of Damage in Parking Garages 1. Scratches: These are often caused by other vehicles brushing against your car. Scratches can range from superficial to deep, potentially affecting the paint or even the metal beneath. 2. Dents: Dents occur when another vehicle collides with your car, often during parking maneuvers. These can vary in severity, from small dents to more extensive damage. 3. Paint Transfer: This happens when another car's paint transfers onto your vehicle, usually due to a minor scrape or bump. While not as severe as other types of damage, it can still be unsightly. Assessing the Damage If your car is damaged in a parking garage, the first step is to assess the extent of the damage. Here's how to do it: Check for Paint Transfer: If you notice a different color on your bumper or another part of your car, it could be paint transfer. This is often a sign of a minor scrape. Inspect for Scratches: Run your hand over the affected area to feel for scratches. If the paint is rough or uneven, it may require touch-up. Look for Dents: Examine the body of your car for any dents or depressions. These can be a sign of a more significant impact. Check for Primer or Plastic Exposure: If the damage has exposed the primer or the underlying plastic, it indicates more severe damage that likely requires professional repair. When to Seek Professional Help Exposed Primer or Plastic: If the paint has been removed and the primer or plastic is visible, a professional touch-up or respray is necessary. Severe Scratches or Dents: Deep scratches or large dents should be addressed by a professional to prevent further damage or rust. Uncertain Damage: If you're unsure about the extent of the damage, it's always safer to consult a professional. Repairing Parking Garage Damage 1. Paint Touch-Up: For minor paint transfer or scratches, a paint pen can be used to touch up the affected area. Ensure you use a color that matches your car's paint. Follow these steps: - Clean the area thoroughly. - Lightly sand the edges of the damage to blend the paint. - Apply the touch-up paint in thin layers. - Allow each layer to dry before applying the next. - Finish with a clear coat if necessary. 2. Paint Correction and Polishing: For lighter scratches, paint correction using fine abrasive materials can smooth out the surface. Polishing will then restore the shine. 3. Dent Repair: Depending on the severity, dents can be repaired using paintless dent repair (PDR) for minor dents or traditional body work for more significant damage. Preventing Damage in Parking Garages To minimize the risk of damage, consider the following tips: Park Strategically: Choose a spot that offers enough space to maneuver without risking contact with other vehicles. Avoid Tight Spaces: If the space is too tight, it's better to find another spot to park. Use Sensors: If your car has parking sensors, rely on them to help judge distances accurately. Be Cautious When Backing Out: Take your time and check your surroundings before reversing. Consider Protective Covers: Using protective covers can add an extra layer of defense against minor scratches and dents. Insurance and Legal Considerations If the damage was caused by another driver, consider filing a claim with your insurance company. Document the incident with photos and contact information from the other party. If the parking garage management is responsible, they may have liability insurance to cover the damage. Dealing with parking garage damage can be frustrating, but with the right knowledge and approach, you can address the issue effectively. By assessing the damage accurately, knowing when to seek professional help, and taking preventive measures, you can protect your vehicle and maintain its appearance. Remember, a proactive approach can save you time, money, and hassle in the long run.

Detonation nanodiamonds (DNDs) are more than just a scientific curiosity—they’re a groundbreaking material with the potential to transform industries ranging from automotive coatings to biomedicine . Born from controlled explosions , these tiny diamond crystals are reshaping how we think about durability, performance, and innovation. In this article, we’ll dive deep into the science, history, and applications of DNDs, offering a complete resource for anyone interested in this fascinating field. What Are Detonation Nanodiamonds? The Basics of DNDs Detonation nanodiamonds are tiny diamond particles, typically 3–5 nanometers in size, created by detonating explosives with a negative oxygen balance, like as a mixture of trinitrotoluene (TNT) and hexogen (RDX)in a controlled environment . The carbon atoms in the explosives rearrange into a diamond’s signature sp³ carbon lattice structure , giving DNDs their exceptional hardness and durability. Despite their small size, these particles pack a punch, offering unique properties that make them invaluable in a variety of applications.

Throughout human history, the quest to protect and preserve surfaces has driven remarkable innovation. What began with ancient Chinese potters developing protective ceramic coatings for their vessels has evolved into today's cutting-edge nanotechnology solutions. This journey spans more than four millennia, weaving through diverse cultures and technologies, from Japanese samurai swords to horse-drawn carriages, and ultimately to modern automotive and aerospace applications. The story of surface protection is one of continuous innovation and adaptation. Each era brought new challenges and solutions, from the early enameling techniques of Ancient Greece and Rome to the revolutionary developments in the automotive industry during the 20th century. As we explore this fascinating timeline, we'll see how each advancement built upon previous discoveries, leading to the sophisticated ceramic coatings we use today. This evolution represents more than just technological progress – it reflects humanity's persistent drive to protect and preserve our most valuable assets, whether they were ancient pottery, medieval weapons, or today's high-performance vehicles. Let's trace this remarkable journey from its ancient origins to the present day's advanced protective solutions.

Discover the science behind nano diamonds and their transformative role in advanced ceramic coatings. In recent years, the use of nano diamonds —tiny diamond particles measuring just billionths of a meter (nanometers)—has gained significant attention in various industries. These microscopic gems are not only fascinating from a scientific perspective but also hold immense potential for practical applications, particularly in advanced materials like ceramic coatings . What Are Nano Diamonds? Nano diamonds are minuscule diamond particles produced through processes such as detonation synthesis. When an explosive containing carbon compounds is detonated under controlled conditions, the intense heat and pressure generated mimic the natural formation of diamonds deep within Earth's mantle . The result? Pure carbon atoms rearrange themselves into crystalline diamond structures at the nanoscale. Extreme hardness: Retains legendary durability even at the nanoscale. High thermal conductivity: Efficiently transfers heat, ideal for demanding environments. Chemical inertness: Resists corrosion and chemical reactions, ensuring longevity. Large surface area: Enables better interaction with other materials. The Role of Nano Diamonds in Ceramic Coatings Ceramic coatings are widely used for protecting surfaces against wear, abrasion, corrosion, and thermal degradation. By integrating nano diamonds into these coatings, manufacturers can significantly improve their mechanical, thermal, and functional properties. Key Benefits: Improved Hardness and Durability: Enhances resistance to chipping, and erosion, also making scratching less likely. Enhanced Thermal Conductivity : Reduces overheating and thermal stress. Reduced Friction and Wear: Acts as nanoscale lubricants, reducing energy loss. Superior Adhesion and Uniformity: Ensures strong bonding and prevents delamination . Optical and Aesthetic Benefits: Enhances glossiness and optical clarity. Applications of Nano Diamond-Infused Ceramic Coatings The versatility of nano diamond-enhanced ceramic coatings opens up numerous possibilities across industries: Automotive Industry: Ceramic coatings play a crucial role in protecting car exteriors and interiors from scratches, UV damage, and environmental wear. At Westchester Auto Detail, we use C6 Ceramic Coatings , the only product on the market created through cold detonation physics to incorporate Refined Detonated Nano Diamonds . Unlike other brands, such as CarPro’s DQuartz, which use standard nanodiamonds, C6’s refinement process ensures a higher concentration and superior quality of nano diamonds. This results in enhanced hardness, durability, and resistance to wear, making it the ideal choice for automotive applications. The refined nano diamonds also improve the coating’s ability to bond with surfaces, providing long-lasting protection and a deeper, more vibrant shine. Aerospace Engineering: Shielding aircraft components from extreme temperatures and abrasion. Medical Devices: Providing biocompatible, antibacterial coatings for surgical instruments. Electronics Manufacturing: Safeguarding delicate circuits and semiconductors. Industrial Machinery: Extending the life of heavy-duty equipment by reducing wear. Challenges and Future Prospects While the integration of detonated nano diamonds into ceramic coatings offers groundbreaking advantages, there are still challenges to address: Cost: Producing nano diamonds via detonation synthesis is expensive. Scalability: Scaling up production while maintaining quality remains a technical hurdle. Environmental Concerns: Use of explosives raises sustainability and safety questions. Despite these obstacles, ongoing research aims to optimize production methods and explore alternative synthesis techniques. As costs decrease and technologies advance, we can expect nano diamond-enhanced ceramic coatings to become more accessible and ubiquitous. Conclusion Detonated nano diamonds represent a revolutionary advancement in material science, offering unparalleled enhancements to ceramic coatings. From boosting hardness and thermal management to reducing friction and improving aesthetics, these tiny yet mighty particles unlock new possibilities for innovation. As researchers continue to refine this technology, one thing is clear: the future of protective coatings shines brighter—and harder—than ever before.
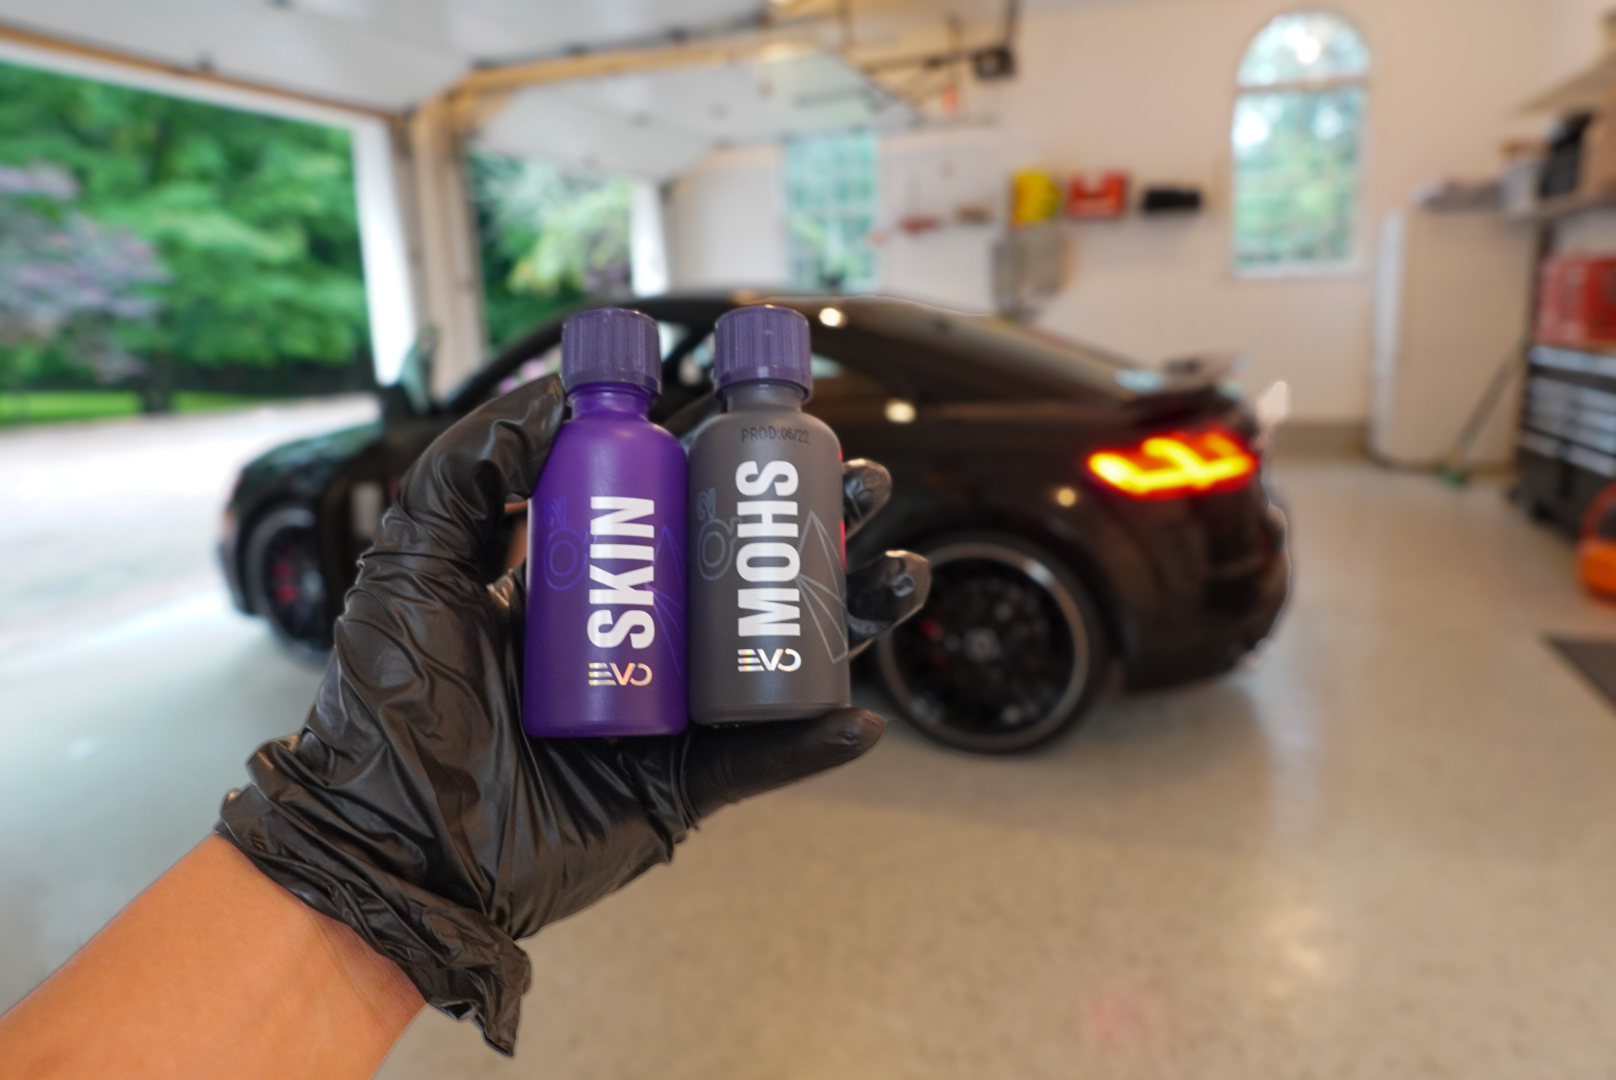
A common misconception in the world of ceramic coatings is that two layers automatically equates to better performance. The truth is much more nuanced than this. Professional ceramic coatings vary significantly in their formulations, properties, and durability ratings, regardless of the number of layers applied. A high-quality single-layer coating, properly applied, can offer exceptional protection and longevity.

AC drainage issues can pose the tricky problem of sneaky vehicle water damage, turning your car into a breeding ground for mold, causing health risks. Oftentimes, water improperly drains onto the super absorbent padding on the underside of the interior carpets. This problem normally occurs after a blockage in the AC outlet hose, when the hose is shifted out of place, or with kinks or bends in the hose, leaking water inside of the vehicle. This enclosed, waterlogged carpet is a source of moisture, creating the perfect place for mildew, mold and bacteria growth. The dark, humid environment of a car, especially under the carpet, provides ideal conditions for mold spores, which are present everywhere in the air to settle, grow and thrive. The absorbent carpet fibers and padding act like a sponge, absorbing and retaining moisture. This trapped water, combined with the lack of airflow and sunlight under the carpet, creates the perfect environment for mold to multiply rapidly, often undetected until a musty odor becomes noticeable, if not unbearable.
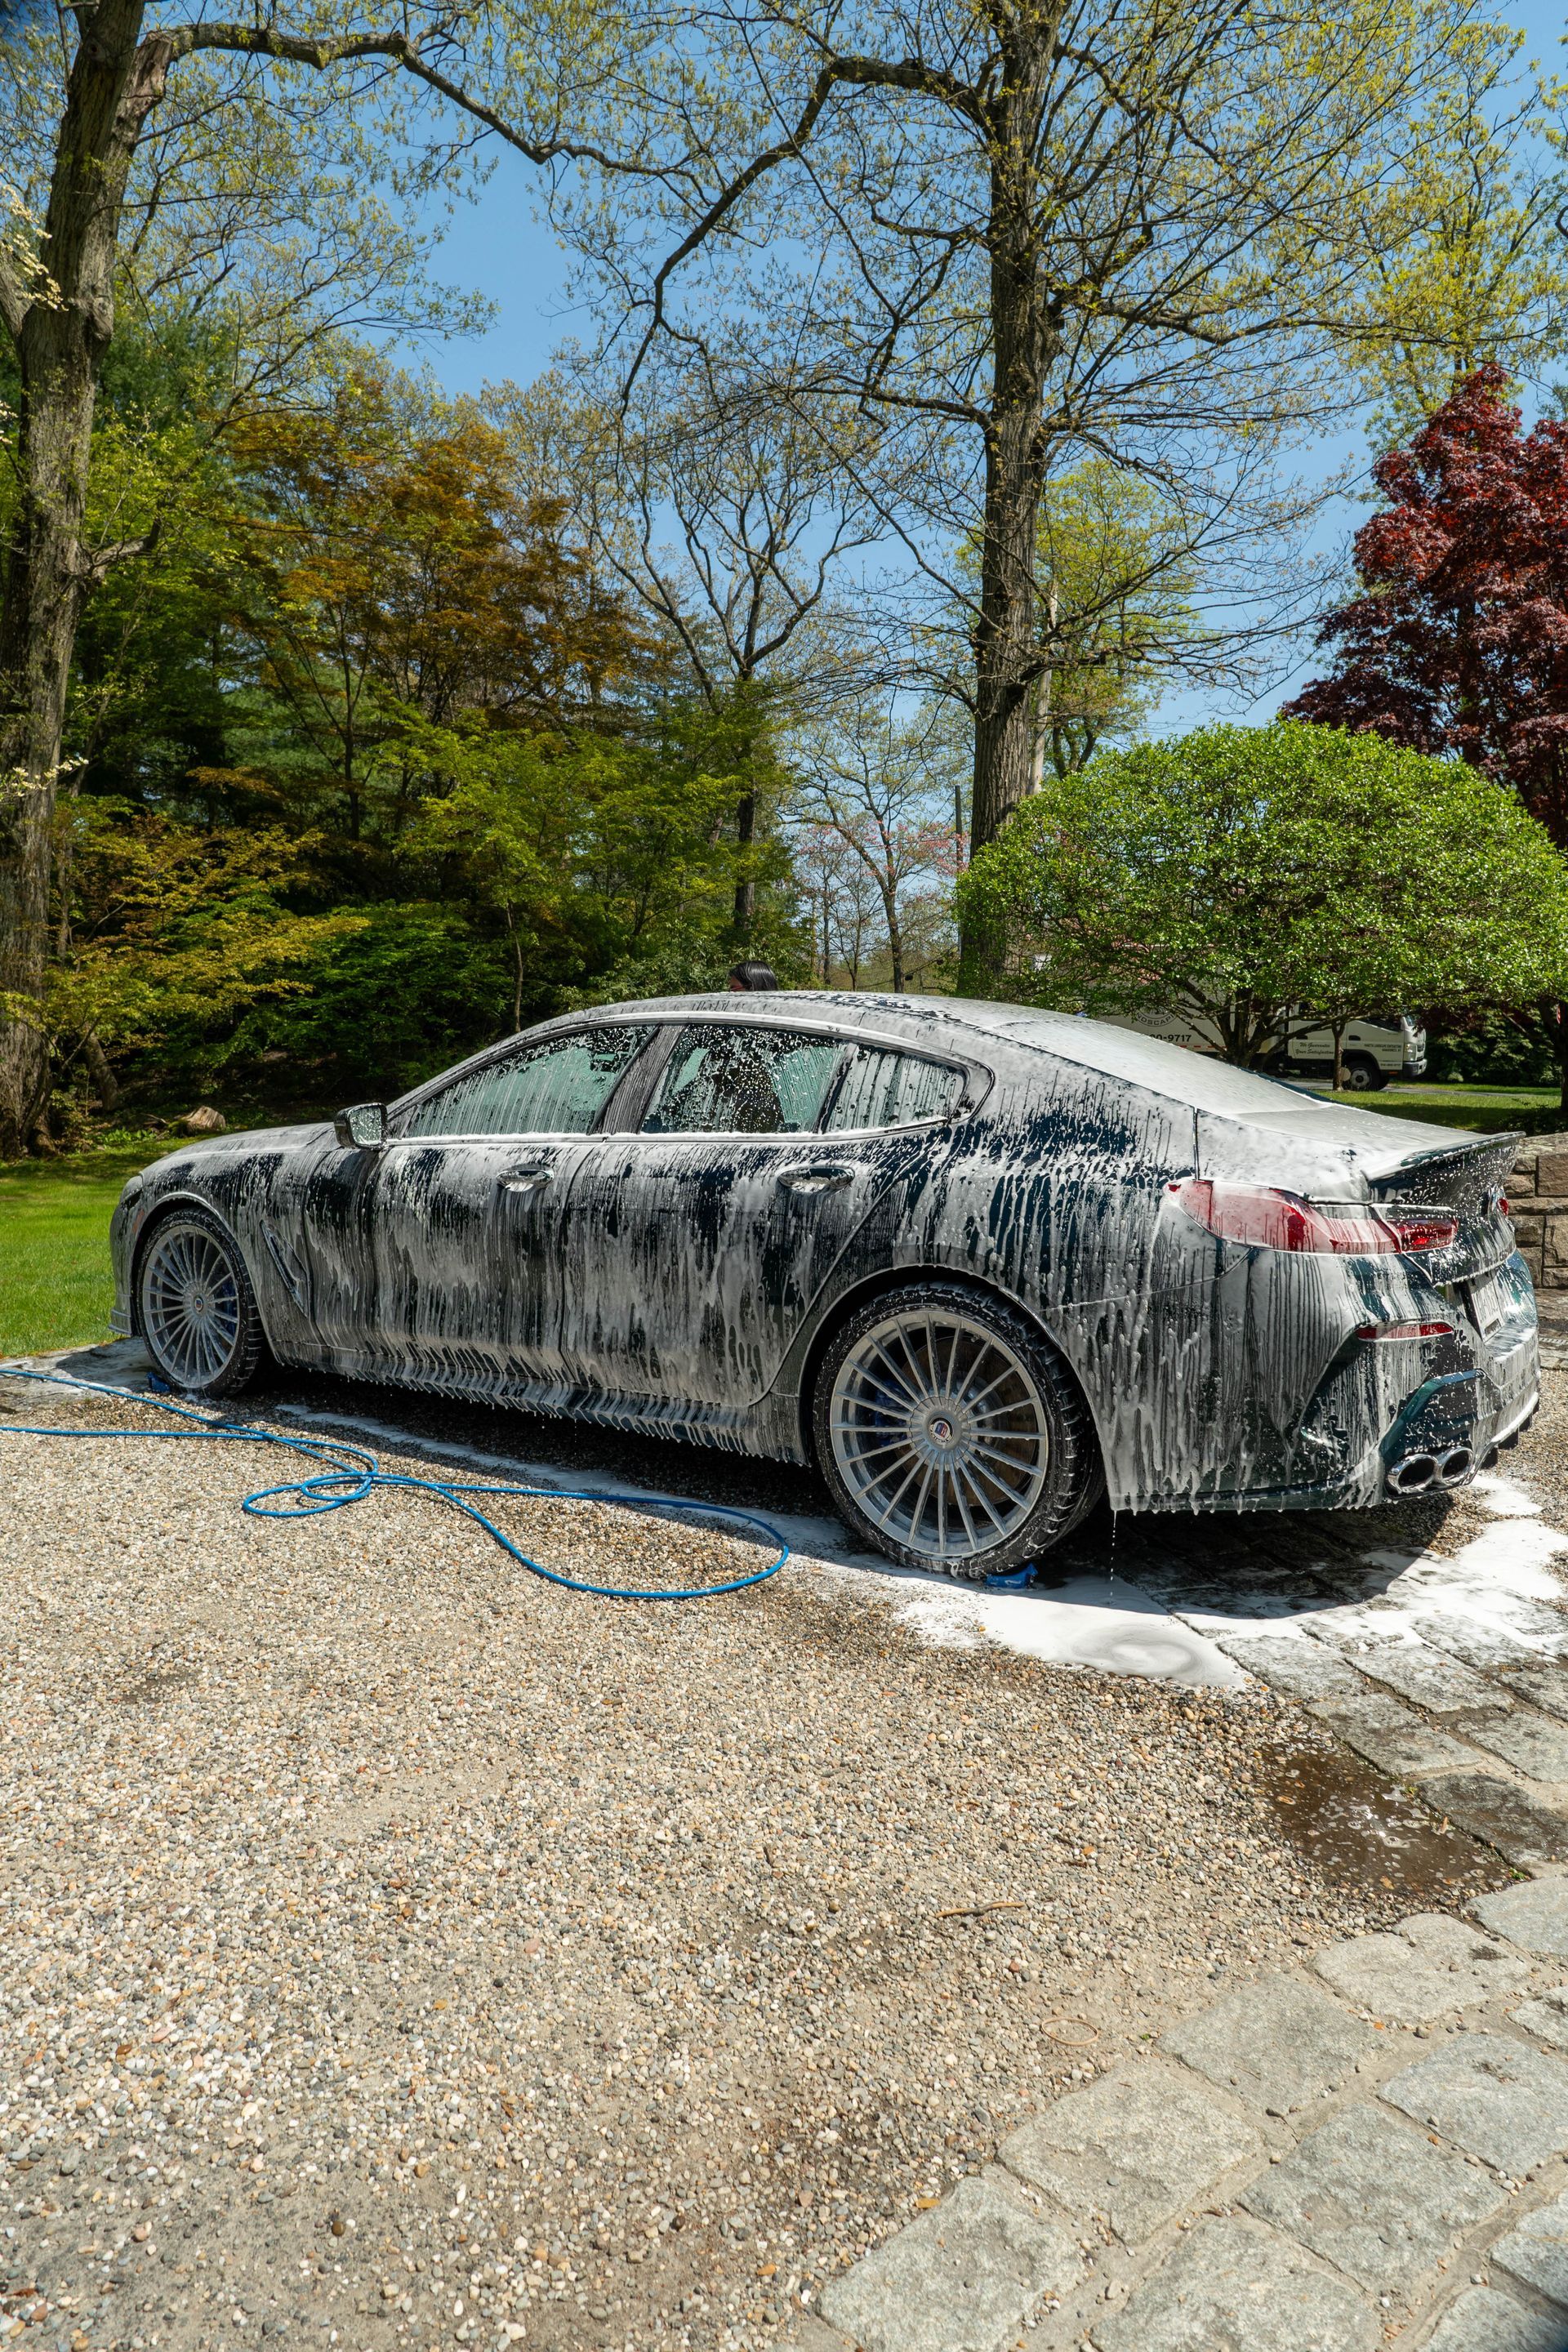
When it comes to car leasing, maintaining your vehicle’s condition throughout the lease term is crucial for preserving its resale value. Specific detailing practices, like paint correction, interior protection, and ceramic coating, play a significant role in ensuring that your car remains in pristine condition, maximizing its value at the end of the lease. Paint Correction: Restoring the Shine One of the most impactful detailing practices is paint correction. Over time, your car’s paint can suffer from minor scratches, swirl marks, and other imperfections. These flaws might seem insignificant, but they can dull the car’s appearance, making it look older and less cared for. Paint correction involves a multi-step process where professionals use specialized compounds and polishes to remove surface imperfections. This process restores the paint’s original luster, giving your car a like-new appearance. Imagine you’re returning a leased car that’s accumulated a few minor scratches over the years. Without paint correction, those scratches could reduce the car’s resale value. But with a properly corrected paint job, the car not only looks better but also appears to have been meticulously maintained. This small investment in paint correction can lead to significant savings by avoiding potential fees for wear and tear. Real-World Example: Paint Correction Pays Off Take the case of Sarah, who leased a mid-sized SUV for family use. After three years of regular driving, her car’s paint had accumulated numerous light scratches and swirl marks, especially around the door handles and the trunk. Before returning the vehicle, Sarah opted for professional paint correction. The results were astounding. The SUV’s paint looked as good as new, and the leasing company offered her a generous trade-in value, which she applied to her next lease. Without paint correction, she might have faced additional charges or a reduced trade-in value. Interior Protection: Keeping It Fresh The interior of your car is where you spend most of your time, and it’s also where wear and tear can become most apparent. Interior protection treatments, like leather conditioning, fabric protection, and regular deep cleaning, can preserve the look and feel of your car’s interior. For leather seats, conditioning is essential. Over time, leather can crack, fade, and lose its softness if not properly cared for. A professional detailer will use high-quality conditioners to keep the leather supple and resistant to damage. Fabric protection is equally important for cloth seats and carpets. Applying a fabric protectant helps repel stains and makes it easier to clean up spills before they cause lasting damage. This is particularly valuable for those who frequently transport children or pets, as it keeps the interior looking fresh and clean. Real-World Example: Interior Protection Saves the Day Consider John, a sales executive who leased a luxury sedan for his job. With constant travel and meetings, the car’s interior saw heavy use. Spilled coffee, food crumbs, and general wear and tear had taken their toll. Before returning the car, John invested in interior protection detailing. The seats were conditioned, the carpets were treated with fabric protectant, and the entire interior was deep cleaned. The leasing company was impressed by the car’s immaculate condition and offered John a favorable rate on his next lease. Had he skipped the interior detailing, the outcome might have been very different. Ceramic Coating: Long-Term Protection Ceramic coating is another powerful detailing practice that can significantly enhance your vehicle’s resale value. Unlike traditional wax, ceramic coatings form a strong, durable layer over the paint, providing long-term protection against environmental contaminants like UV rays, bird droppings, and road grime. This coating not only enhances the car’s shine but also makes it easier to clean, as dirt and water bead off the surface. For those leasing high-end or luxury vehicles, ceramic coating is a wise investment. It preserves the vehicle’s finish, ensuring that it looks as good at the end of the lease as it did on day one. Real-World Example: The Power of Ceramic Coating Emily leased a sports car for weekend drives and special occasions. Knowing that she wanted to keep the car in top condition, she had a ceramic coating applied shortly after taking delivery. Two years later, the car still had a showroom-quality shine, and the paint was free of the usual wear and tear marks. When it came time to return the car, the leasing company was impressed by its condition and waived any fees for minor damages. The ceramic coating had done its job, protecting the car’s value and making the return process smooth and hassle-free. Conclusion: Detailing Practices That Make a Difference In the realm of car leasing , specific detailing practices like paint correction, interior protection, and ceramic coating can make a world of difference in preserving your vehicle’s resale value. By investing in these services, you ensure that your car remains in top condition, avoiding potential fees and securing a better deal on your next lease. Remember, the way you care for your leased vehicle today directly impacts its value tomorrow. If you’re nearing the end of your lease, consider scheduling these detailing services to protect your investment . It’s a small price to pay for peace of mind and a higher resale value.

While sunlight is essential for life on Earth, its powerful ultraviolet (UV) rays can wreak havoc on your car's exterior and interior surfaces over time. Tonneau covers, paintwork and interior surfaces alike are all susceptible to fading, cracking and discoloration from these solar rays. Fortunately, with the latest automotive technology, protectants are able to shield cars components from the daily risk of prolonged sun exposure.
In the world of automotive detailing, ceramic coatings have become increasingly popular due to their ability to provide long-lasting protection and enhance the appearance of vehicles. However, not all ceramic coatings are created equal. The C6 ceramic coating stands out from the rest, offering a unique blend of advanced materials and innovative technology that takes vehicle protection to the next level.
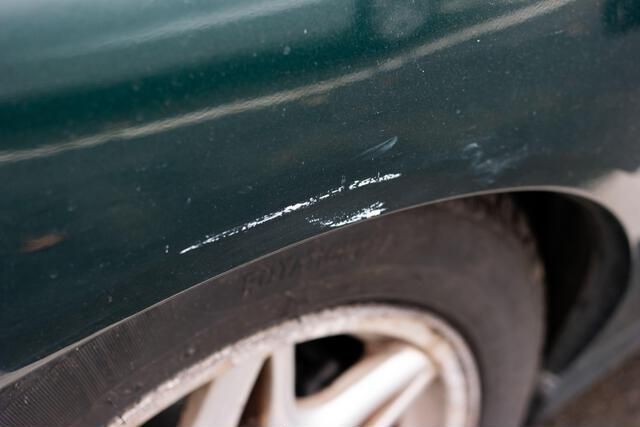
Scraping your car against another vehicle or object can leave behind an eyesore known as paint transfer. This occurs when the impact transfers paint from the other car or object onto yours, leaving a blotchy smear of foreign paint on your vehicle's exterior. While paint transfer mishaps are common, amateur removal attempts can make the problem much worse by scratching or stripping your clearcoat. As professional detailers, we recommend a careful, step-by-step approach focused on using the least abrasive method necessary. Patience and proper techniques are key to avoiding damage as you work to erase the paint transfer. Start With a Clean, Prepped Surface Before tackling paint transfer, it’s essential to thoroughly wash the vehicle. Use the two-bucket method and quality car wash soap like Gyeon Bathe to gently clean the affected area and surrounding paint. This prevents grinding in any grit or debris during the removal process, which can mar the finish. During your initial wash, try lightly rubbing the paint transfer with your wash mitt. The microfibers may be able to lift some of the foreign paint if the transfer is relatively fresh and on the surface. But be extremely cautious applying pressure and inspect often. Employ a Clay Towel as the First Line of Attack If washing alone doesn’t take care of the paint transfer, reach for a clay towel next. These are made of ultra-fine fibers that work like clay to grab contaminants and pull them away from the clearcoat. Simply spray the area with a lubricating car soap diluted 1:1 with water. Then gently rub straight over the paint transfer using light pressure with the clay towel. Move the towel frequently to expose a clean clay surface. Check your progress often. While less abrasive than clay bars, clay towels can still potentially instill minor marring requiring polishing afterward. This is why it is important to make sure the surface of the paint is as clean as possible, contamination left on the surface can lead to further marring. Be patient and methodical. Try clay toweling for at least 5-10 minutes before determining if a more aggressive approach is needed. Finish by thoroughly rinsing away all debris and lubricant. When Needed, Use a Clay Bar With Caution If a clay towel proves unsuccessful, a traditional clay bar is the next step up. Comprised of a polymer clay compound, clay bars are more aggressive at bonding to and removing stuck-on contaminants. Again, start with a clean and prepped surface. Prep the paint in the same fashion, generously lubricating the area. Then carefully glide the clay bar over the paint transfer using straight, even motions. Apply consistent pressure as you work, and avoid dropping the bar. While effective, clay bars increase the risk of instilling light marring or swirling in the clearcoat around the paint transfer. Take precautions and follow up with polishing. Try to only go over necessary areas where there is still contamination to avoid marring a larger area. Restore Gloss by Polishing the Area After claying, it’s critical to polish the treated paint, even if marring isn’t visible. This removes any potential clouding while restoring clarity and shine to the clearcoat. Polishing helps to eliminate any remaining scratches or imperfections caused by the paint transfer removal process. (Reasons To Polish Your Car, 2015) For machine polishing, use a dual-action polisher on medium speed along with a polishing pad and compound. Work in small sections, overlapping passes for an even finish. Those polishing by hand should choose a polish formulated for application by hand. Use a foam applicator or microfiber cloth with straight motions. Take time to carefully polish and inspect until achieving your desired level of gloss and smoothness. Remove all residue and re-wash the area when complete. Chemical Solutions As a Last Resort For the most stubborn paint transfer, liquid solutions like mineral spirits, paint thinner, or tar remover become an option. But extreme care must be taken as these chemicals can strip or etch your clearcoat if mishandled. Always test a small, inconspicuous area first. If effective without damage, soak a microfiber with the chemical and very gently wipe the paint transfer, checking constantly. Limit application time and wash immediately when done. Re-polish if needed to remove any hazing. It is important to note that chemical solutions should only be used as a last resort due to their potential to damage the clearcoat. Trust the Professionals for Best Results While this covers the basic process, experience makes a difference in the safe, effective removal of paint transfer. If you are ever unsure or dealing with a delicate surface, trust the paint correction experts at Westchester Auto Detail. Bring your car to a professional detail shop to achieve flawless results without risking your investment.

Over time, your car's exterior can become marred with scratches, swirl marks, oxidation, staining, and a faded dull appearance. No matter how gently you care for the paint, normal driving and environmental factors will take their toll. When your once glossy finish starts to lose its luster, paint correction is the detailing solution for restoring your car's beautiful, flawless exterior.
