


Professional Mold Remediation for Car Interior (Updated 2024 Guide)
October 13, 2023
Mold can develop inside a car's cabin from flooding, leaks, or condensation buildup, creating an unhealthy environment and unpleasant odors. Left untreated, mold can worsen and spread to hidden areas, so proper remediation by professionals is crucial.
This guide covers safely assessing an infestation's severity, equipment/supplies needed, and step-by-step instructions for DIY mold removal or when to call pro detailers. With diligent treatment, you can rid your car of mold for good.
Evaluating the Severity of Mold Growth
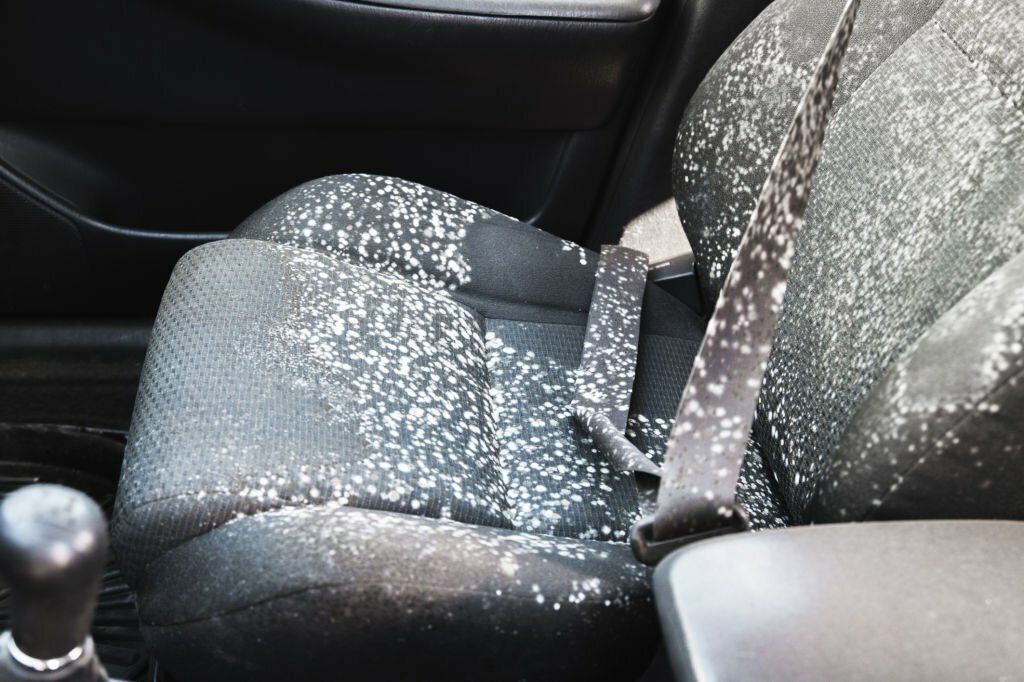
Inspect if mold is visible on surfaces, smells are present, breathing is difficult, health issues have arisen, or unexplained discoloration exists. Consider the car's flood history, if mold has been left unchecked, and the affected areas. This helps determine if cleaning is worthwhile or replacement is better for things like seat padding.
More Intensive Remediation Might Be Needed if
- There is extensive visible mold and signs it has reached hidden areas
- Flooding occurred or leaks have gone unrepaired
- Odors and respiratory issues are severe
- Mold has extensively damaged interior parts and fabrics
It's important to note that every mold situation varies widely in severity and should be handled on a case by case basis. Some car interiors could be salvaged with a detailed clean and mold treatment, while other interiors may require removing seats, HVAC and other parts of the interior for a proper remediation service. We always recommend speaking to a professional detailer or mold remediation company to understand how to best tackle your mold issue.
Westchester County, Fairfield County, Putnam County, and Rockland County
What does Mold Remediation Cost for a Car?
The cost to thoroughly remove mold from a car's interior can vary substantially based on several factors:
- Size of Vehicle - Larger vehicles like SUVs or trucks will cost more than smaller cars since there are more surfaces to treat.
- Severity of Infestation - Surface mold versus mold that has spread to hidden areas or HVAC systems increases cost for additional cleaning efforts.
- Materials Needed - From protective equipment to cleaners and tools, supplies can add up. Things like replacing cabin air filters or discarding badly infested seat padding also add expense.
- Labor Time - Extensive mold removal takes more man hours of work to fully clean and treat all areas. This labor time costs more.
- Location - Prices range based on average wages and cost of living in different geographic areas. Urban areas tend to be more expensive.
For minor surface-level mold, DIY kits might start under $200. But for severe infestations that involve replacing parts and extensive professional cleaning, costs can exceed $2000+ in some cases. The average ranges from $1000-$1500 for more moderate mold situations.
Getting an inspection and estimate from detailing pros allows you to understand the expected cost based on your car's specific mold issue. This helps determine if professional remediation services fit your budget or if other options like cleaning yourself or replacing the vehicle may be better. With an accurate quote, you can make an informed decision.
DIY removal has a better chance if contamination is more limited.
Safety Equipment and Supplies
Mold is a known health hazard. Personal measures should always be taken in order to prevent inhalation and contact with mold by wearing the correct PPE. At a minimum, we recommend using a NIOSH-approved N95 filtering respirator to prevent your lungs from breathing in mold spores. We recommend goggles to prevent mold spores from reaching the eyes. Proper attire for this work includes a long sleeve shirt and long pants or coverall hazmat suit to prevent skin contact. Always wear closed toe shoes when dealing with an infestation or chemicals.
PPE Checklist
Mold spores are hazardous if inhaled or contacted, so proper protective gear is vital:
- N95 respirator mask
- Sealed goggles
- Coveralls or long sleeves/pants
- Closed toe shoes
Cleaning and Remediation Tools & Equipment
Have cleaning solutions ready:
- All-purpose cleaner
- Enzyme carpet shampoo
- Mold killer like Concrobium
- Disinfectants like Microban
- Ozone generator
- Antimicrobial fogger
- Steam cleaner
- HEPA vacuum
- Carpet extractor
- Dehumidifier
- Microfiber towels
Step-by-Step Mold Removal Process
Remove Necessary Components of the Vehicle
Taking out removable interior components like seats, carpets, trim panels, and the cabin air filter allows you to access all contaminated areas for thorough cleaning. Mold can spread underneath these surfaces, so removing them ensures you can treat the entire interior without obstructions.
Removing parts may be especially necessary if:
- There has been extensive flooding that saturated the carpet and padding. The mold may have spread beneath the carpets which requires pulling them up.
- Mold growth is visible underneath seats. Disassembling the seats provides access to clean the entire surface.
- A musty odor is coming from the vents. Taking out the cabin air filter allows inspection and cleaning of the system.
- Headliners or door panels have warping or staining indicating moisture damage. Removing them allows inspection and treatment.
For more minor surface mold, keeping interior components in place during cleaning may be okay. But at the first sign mold has spread to hidden areas, taking out removable parts ensures you can access all affected surfaces. An inspection after vacuuming helps determine if disassembly is required.
Vacuum Visible Mold
Using a vacuum cleaner with a HEPA filter, which traps mold spores, is crucial for removing surface mold growths and loose debris. Vacuuming lifts and contains the contamination for safe disposal. It also prepares the surfaces for deeper cleaning.
When vacuuming for mold removal, it's important to be thorough and vacuum up all visible debris - not just the mold itself. Food crumbs, dirt, dust, and other particles provide additional bacteria that can worsen mold growth. Removing this excess debris starves the mold of these contaminants.
Pay close attention to areas like around seat tracks, seams in upholstery, and any nooks and crannies where food or dirt may accumulate. It's important to remove all forms of organic matter when vacuuming, not just the visible mold. This prevents food sources from remaining that help mold return.
A deep vacuuming that lifts surface mold as well as other contaminants underneath provides the cleanest slate for mold remediation. Make sure the HEPA filter traps everything pulled up. The goal is to eliminate all bacteria and particles that can feed mold regrowth.
Steam Clean Surfaces
Steam cleaning kills mold by using high heat vapor to penetrate and disinfect upholstery, carpets, and other areas. The combination of heat, moisture, and pressure in steam forces mold to the surface and off the materials. Allergens are neutralized.
Shampoo and Extract
Shampoo scrubbing lifts embedded mold and dirt from fabric surfaces using chemicals and friction. Extracting the shampoo and dissolved mold immediately after prevents residues from remaining in the material. This removes deep contamination.
If carpets or upholstery have been damp for an extended time from flooding or leaks, the padding and backing underneath may also be harboring mold that the shampoo cannot reach. In severe cases, removing the carpets entirely and discarding the padding may be necessary
.
Signs that carpets and padding may need removal include:
- Visible mold growing on the underside of carpets
- Musty odor coming from underneath when lifted
- Significant discoloration or damage underneath
- Inability to fully dry due to extensive saturation
If the flood damage was extensive enough to saturate padding, the mold and moisture can be trapped under there. Shampooing alone cannot remove it. Pulling up carpets, removing padding, drying fully, and replacing may be the best way to eliminate all contamination.
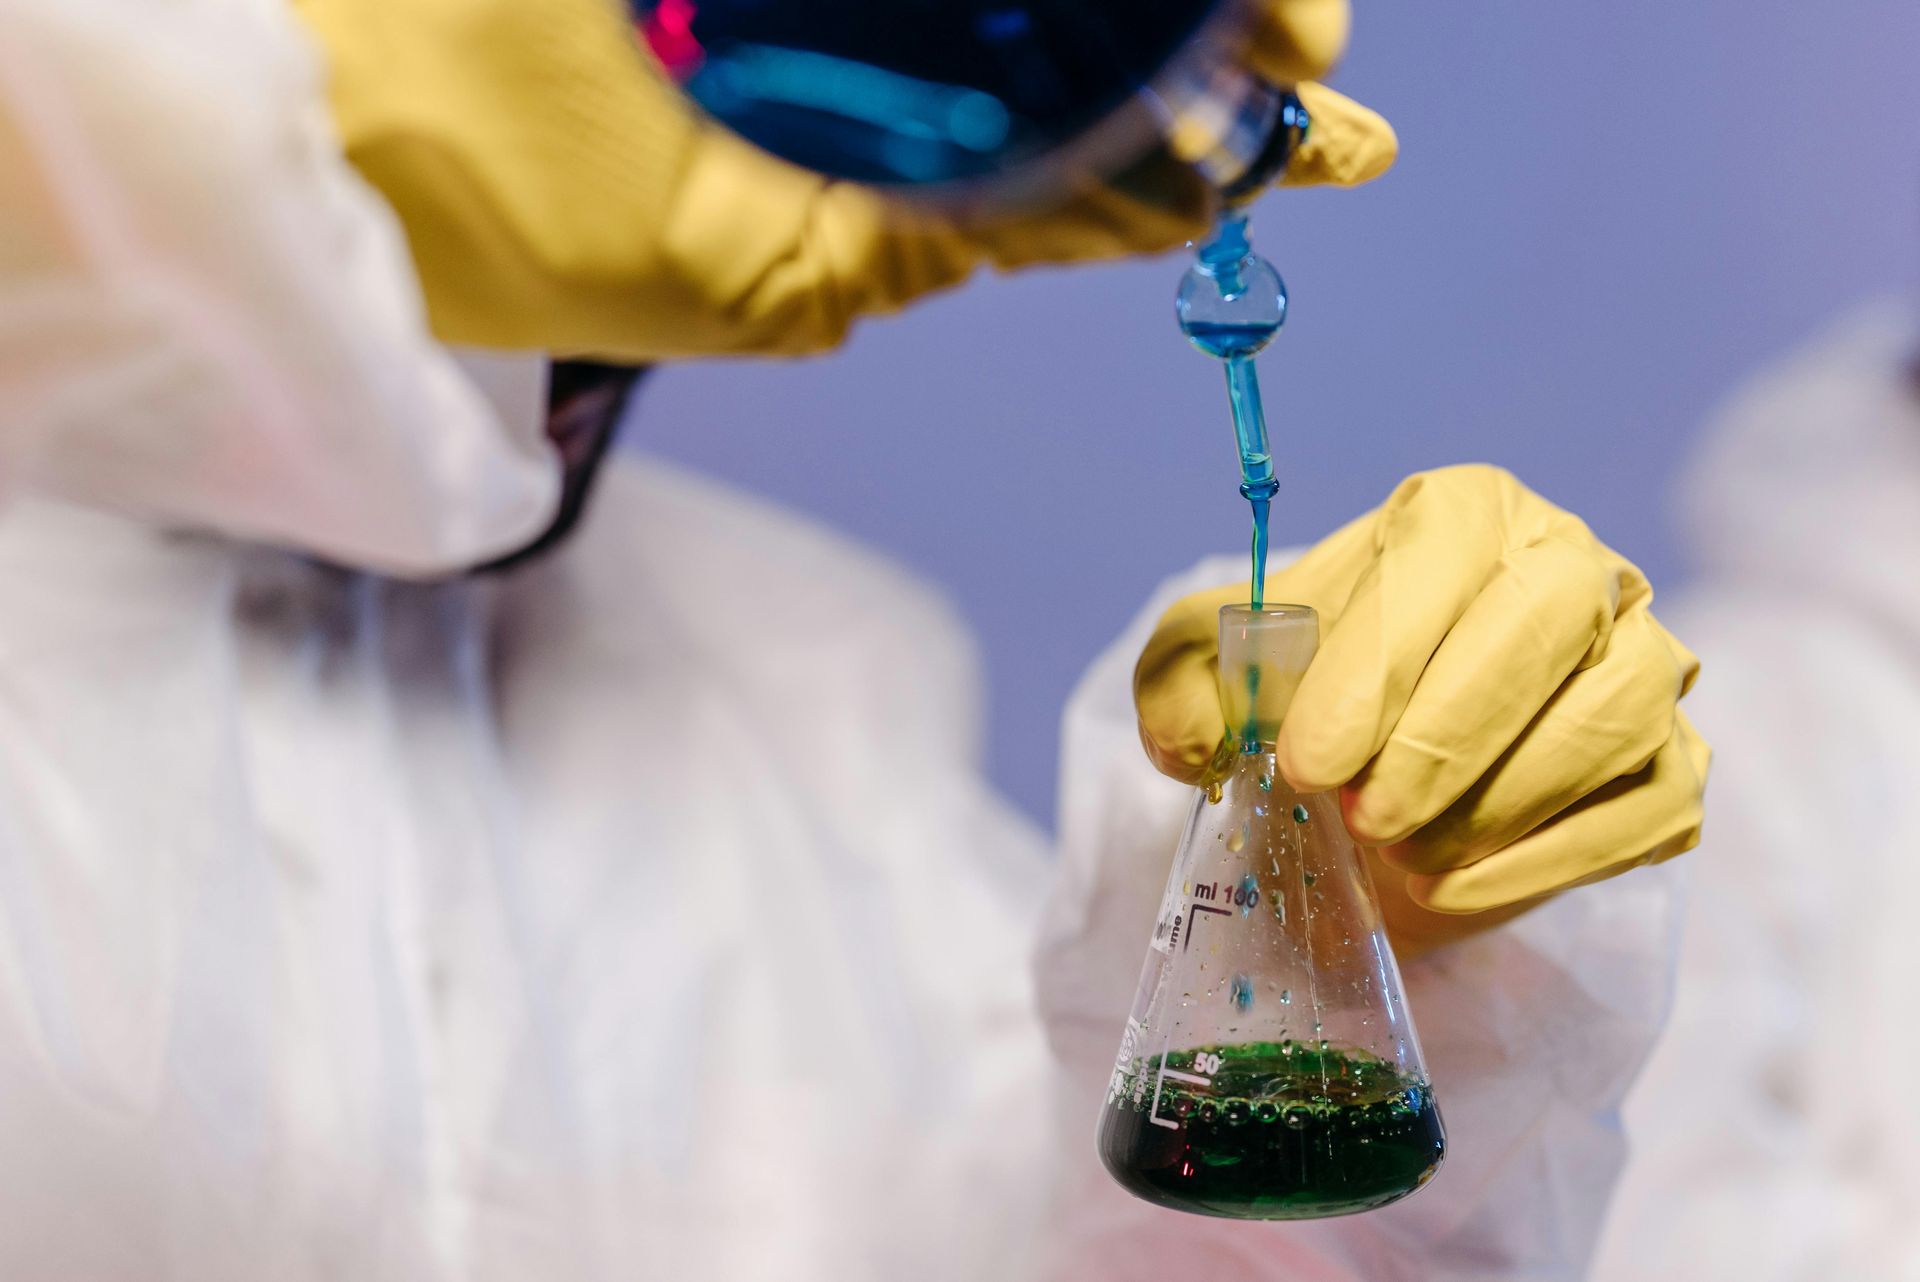
Apply Mold Killer
Mold killing solutions work to inhibit mold growth and guard against future outbreaks. The antimicrobial ingredients continue killing mold even after application. Fogging helps distribute the product evenly.
When selecting a mold killer product, look for ones specifically formulated for use on car interiors and fabrics. Avoid bleach or harsh chemicals that could damage surfaces. The label should state it is safe for auto upholstery and carpets.
Seeking out mold removers with “antimicrobial” or “fungicidal” ingredients ensure it kills and prevents mold, versus just bleaching stains. Also ensure it fits your application method whether fogging, spraying or wiping.
Always test any cleaning product in an inconspicuous area first. Check for any discoloration or damage to materials and if the mold remover is effective on the type of mold present. Testing prevents accidents from using the wrong product.
With the right antimicrobial mold remover approved for car use, you can treat the entire interior surface area evenly. Coverage is key for mold prevention to work. Follow instructions and allow proper contact time before removing.
Disinfect with Antimicrobial Spray
An antibacterial spray like Microban adds an extra layer of protection by disinfecting surfaces after mold removal. This helps ensure any remaining spores are neutralized. We especially recommend this step if you do not have a steam cleaner handy to disinfect with steam.
Run an Ozone Generator
Ozone generators work like an air purifier for the entire cabin space. The ozone produced oxidizes and destroys contaminants like mold or odors that linger after cleaning. This sanitizes the full interior.
Replace Parts
Reinstalling cleaned components like seats makes the car usable again. Replacing used air filters prevents recontamination from mold spores that may still be present in the old filter.
Use a Dehumidifier (Optional)
Excess humidity allows mold to regrow rapidly. A dehumidifier maintains dry air to inhibit mold growth long-term. It controls the moisture that fuels mold, keeping the car's interior fresh.
With diligent treatment, protective gear, and thorough cleaning, you can rid your car of hazardous mold. Seek professional detailing help for extensive infestations.