

How to Defeat New and Dried Tree Sap Deposits for Good
January 25, 2024
Tackling Fresh Sap
As temperatures rise in spring, sap starts flowing in trees preparing for new growth. Unfortunately, some of this sticky substance inevitably ends up on cars parked underneath. While fresh sap wipes off easily, hardened sap baked on by sun becomes a stubborn enemy notorious for damaging paint.
With the right products, techniques, and a bit of patience though, you can safely dissolve away even rock-solid sap without hurting your car’s exterior. This guide will explore different removal methods from start to finish to reclaim pristine, sap-free paint.
Why Removing Sap Matters
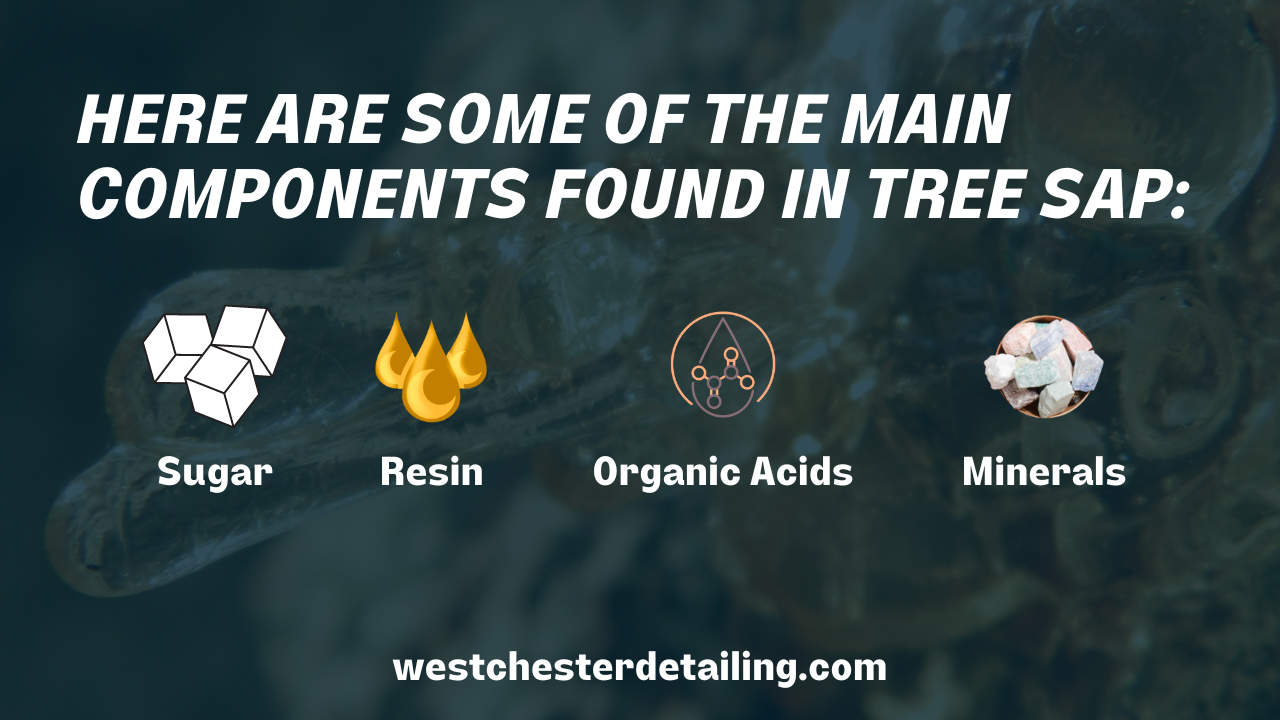
Tree sap is composed of sugars, resins, and other natural compounds that allow it to aggressively stick to surfaces. As sunlight and heat cure sap over time, it hardens into a virtually bonded layer that’s incredibly tough to remove.
More than just an eyesore, hardened sap causes several issues:
- Etching and staining as molecules sink into clearcoat
- Tightly bonded residues that are labor-intensive to remove
- Abrasive sap crystals that can scratch paint when disturbed
- Clogging of pores in ceramic coatings, lowering hydrophobic properties
Additionally, the cleaning agents required to dissolve aged sap can strip existing wax or sealant layers, leaving paint vulnerable. Thus it’s critical to address sap contamination early before extensive damage occurs.
Tackling Fresh Sap
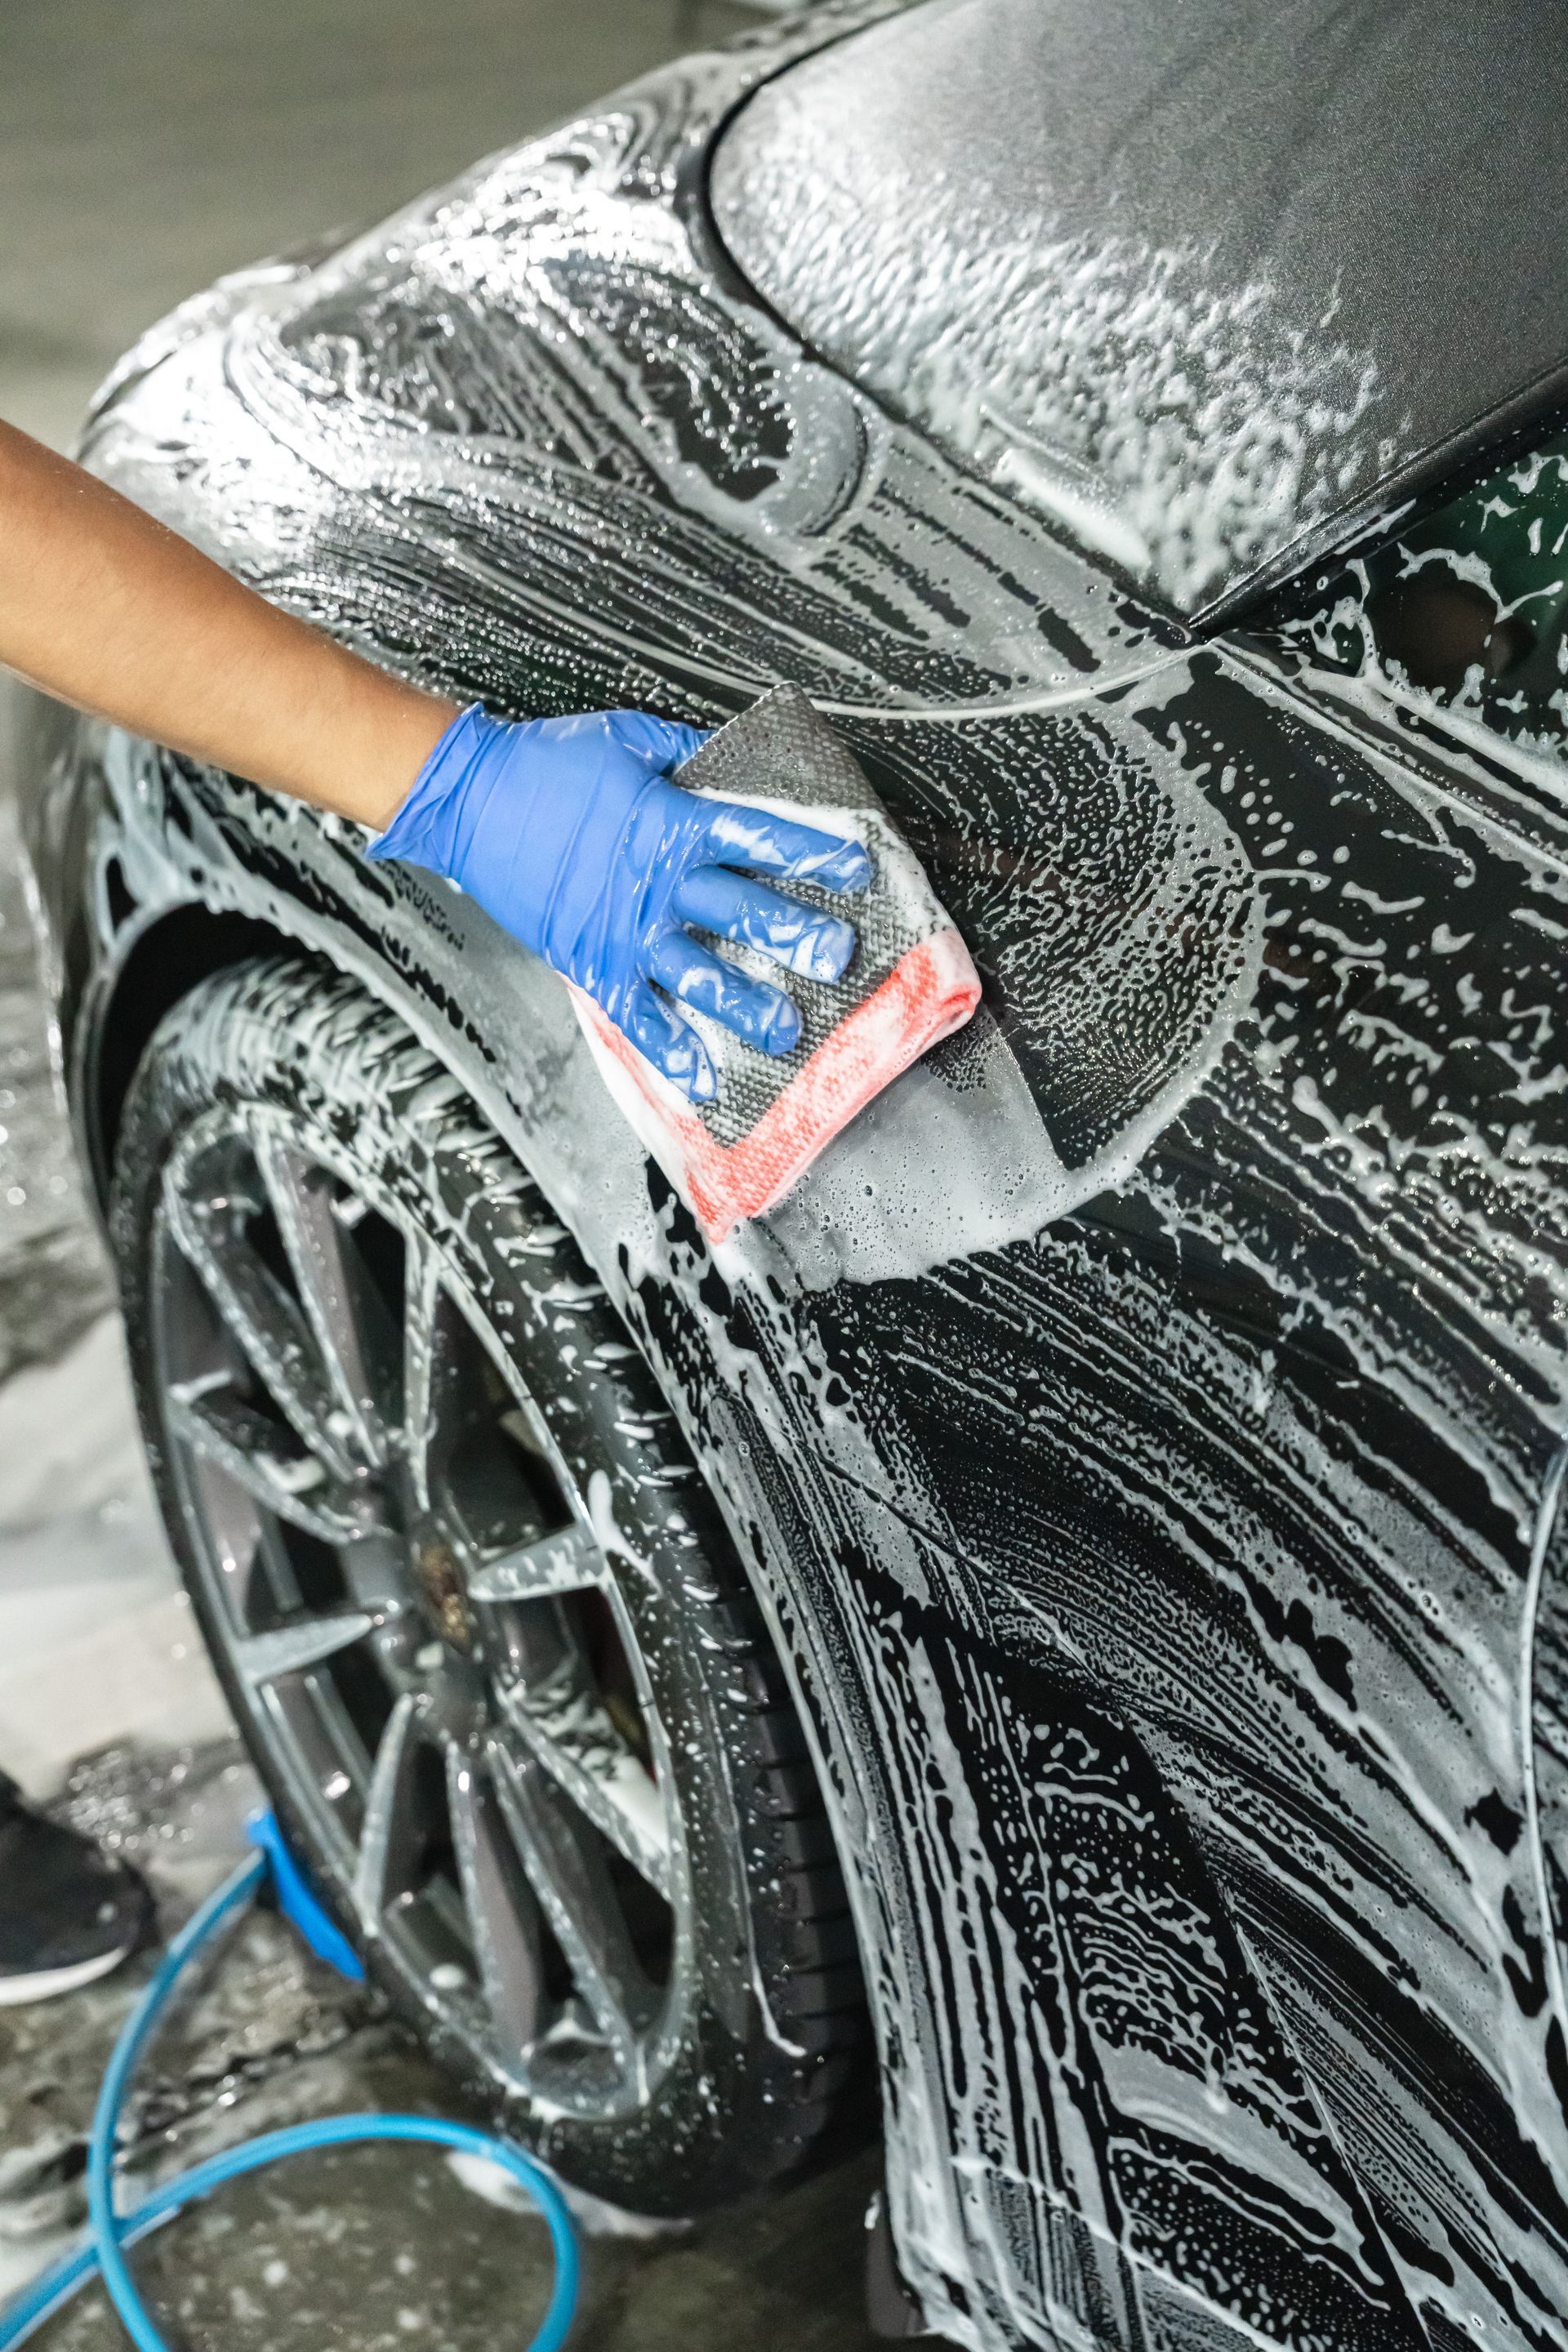
For large, gloopy sap drips that have just happened in the last day or two, isopropyl alcohol is very effective at breaking the sap's bond with the paint. Mix a solution of 70% isopropyl alcohol and 30% water in a spray bottle. Liberally apply the diluted alcohol over the sap, thoroughly soaking the area. Allow the solution to dwell for 5-10 minutes, which gives the alcohol time to penetrate and dissolve the sap's outer layer. After letting it sit, wipe away at the sap with a clean microfiber towel, rotating and folding the towel frequently to expose a clean surface. Most of the sap should lift off easily if you allow adequate dwell time. Be careful not to use rubbing alcohol in direct sunlight. Avoid rubbing the towel into the paint, which can cause scratches.
For vertical surfaces like doors or the side of the car, an alcohol-based hand sanitizer gel works well in place of liquid alcohol. The thicker gel is less messy and won't drip down the panels as much. Apply a generous amount of sanitizer over the fresh sap drip and let it soak in before gently wiping away with a microfiber. The alcohol in the sanitizer breaks down the sap bonds similar to isopropyl solutions. Just be cautious applying too much pressure, as the gel may inadvertently grind sap crystals into the paint if not adequately softened.
Battling Hardened Sap
Once sap has fully hardened and bonded to paint, gentler options lose effectiveness. Potent chemical solvents are required to penetrate the sap and dissolve it from underneath:
Bug and Tar Removers
Stiff solvents found in many bug and tar removers help cut through sap’s sticky resins. Products with high concentrations of petroleum distillates or xylene can tackle even the most stubborn baked-on sap after sufficient dwell time. Just take care using on paint as harsher chemicals may strip waxes. We like cleaners like safer cleaners like
Gyeon Q2M Tar.
Adhesive Removers
The strongest sap-fighting chemicals are industrial adhesive removers. Products like 3M General Purpose Adhesive Cleaner works wonders eradicating thick sap deposits, but require careful testing first. Use sparingly and avoid over-application.
Tips for Safe and Effective Use
- Always test products first on an inconspicuous area of paint to assess potential damage
- Avoid direct sunlight and heat during application which hinders solvent action
- Apply liberally focusing on saturated sap layers but avoid excessive overlap
- Let chemical sit for minimum 5 minutes before attempting to wipe away
- Reapply frequently as needed until sap dissolves instead of rubbing harshly
- Fold microfiber towels frequently to expose clean wiping surface
- Rinse thoroughly with water after cleaning to neutralize chemicals
- Inspect closely under bright light and re-treat any remaining sap spots
- Follow up with a paint cleanser, polish, or glaze to restore smoothness
Using Abrasives Cautiously
For thick sap deposits that solvents alone cannot defeat, some light abrasion may assist the chemical breakdown. However, take extreme care not to grind abrasives over soft paint.
A pass with fine clay lubricated with quick detailer may help shear off the uppermost sap layer after initial chemical treatment.
Using a random orbital polisher on low speed with a soft polishing pad and light polishing compound can provide localized heat and friction to break down sap’s grip after saturating with remover.
Avoid staying in one spot too long when machine polishing and keep pad surface clean.
Hand polishing alone risks creating swirl marks if sap crystal grind into clearcoat. Let chemical removers do the heavy lifting first.
With mild abrasion, less is more. The focus should remain on using sap remover frequently to dissolve away residues versus relying on elbow grease.
Reconditioning Paint Post-Removal
Lastly, apply a fresh layer of wax, sealant, or ceramic coating to restore protection against environmental damage and future sap drips. Tree sap removal tends to strip existing layers that maintain your paint’s vibrancy.
Prevention and Maintenance
The adage “an ounce of prevention is worth a pound of cure” certainly applies to keeping cars sap-free. Here are some tips:
- Park in garages or under covers when possible to limit exposure
- Wash frequently to avoid sap accumulating and bonding
- Apply durable paint protection like ceramic coatings to make sap removal easier
- Detail paint often to detect and treat new sap drips quickly before they cure
- Trim overhanging branches or trees contributing to sap drips onto vehicles
- Clean sap off immediately using the methods for fresh deposits mentioned earlier
Remaining vigilant for sap contamination right when it happens goes a long way toward keeping your car’s shine in peak form with minimal effort. But even longtime sticky sap blemishes still don’t stand a chance against the right removal products and techniques. With a little strategic prep, chemistry, and care, you can safely restore paintback to a smooth, glassy finish sap-free.